Sunday, October 11, 2015

HGBF Crossbone Gundam X1 Full Cloth Ver. GBFT WIP 3

and here goes the final WIP of my current project (yup it is the final one because i haven't posted for quite a while and has since completed this). The painting in this WIP was all done with the new airbrush that i got (after the first one died on me)

so this time round i was painting the red parts


and this time i was spraying on the gradient and i was really happy with it! Not the best but it did look decent enough!

There is a greater area with red as compared to in the crossbone gundam i used as a reference for this project but i still feel that this fits the overall look of the gundam better!

after this i painted the duralumin parts (sorry i didn't take photos) but they were for the joints and "inner frame" of the gundam

and this was how it looked like!!

aaand the next day i began on the weapons (which are still on the runners)

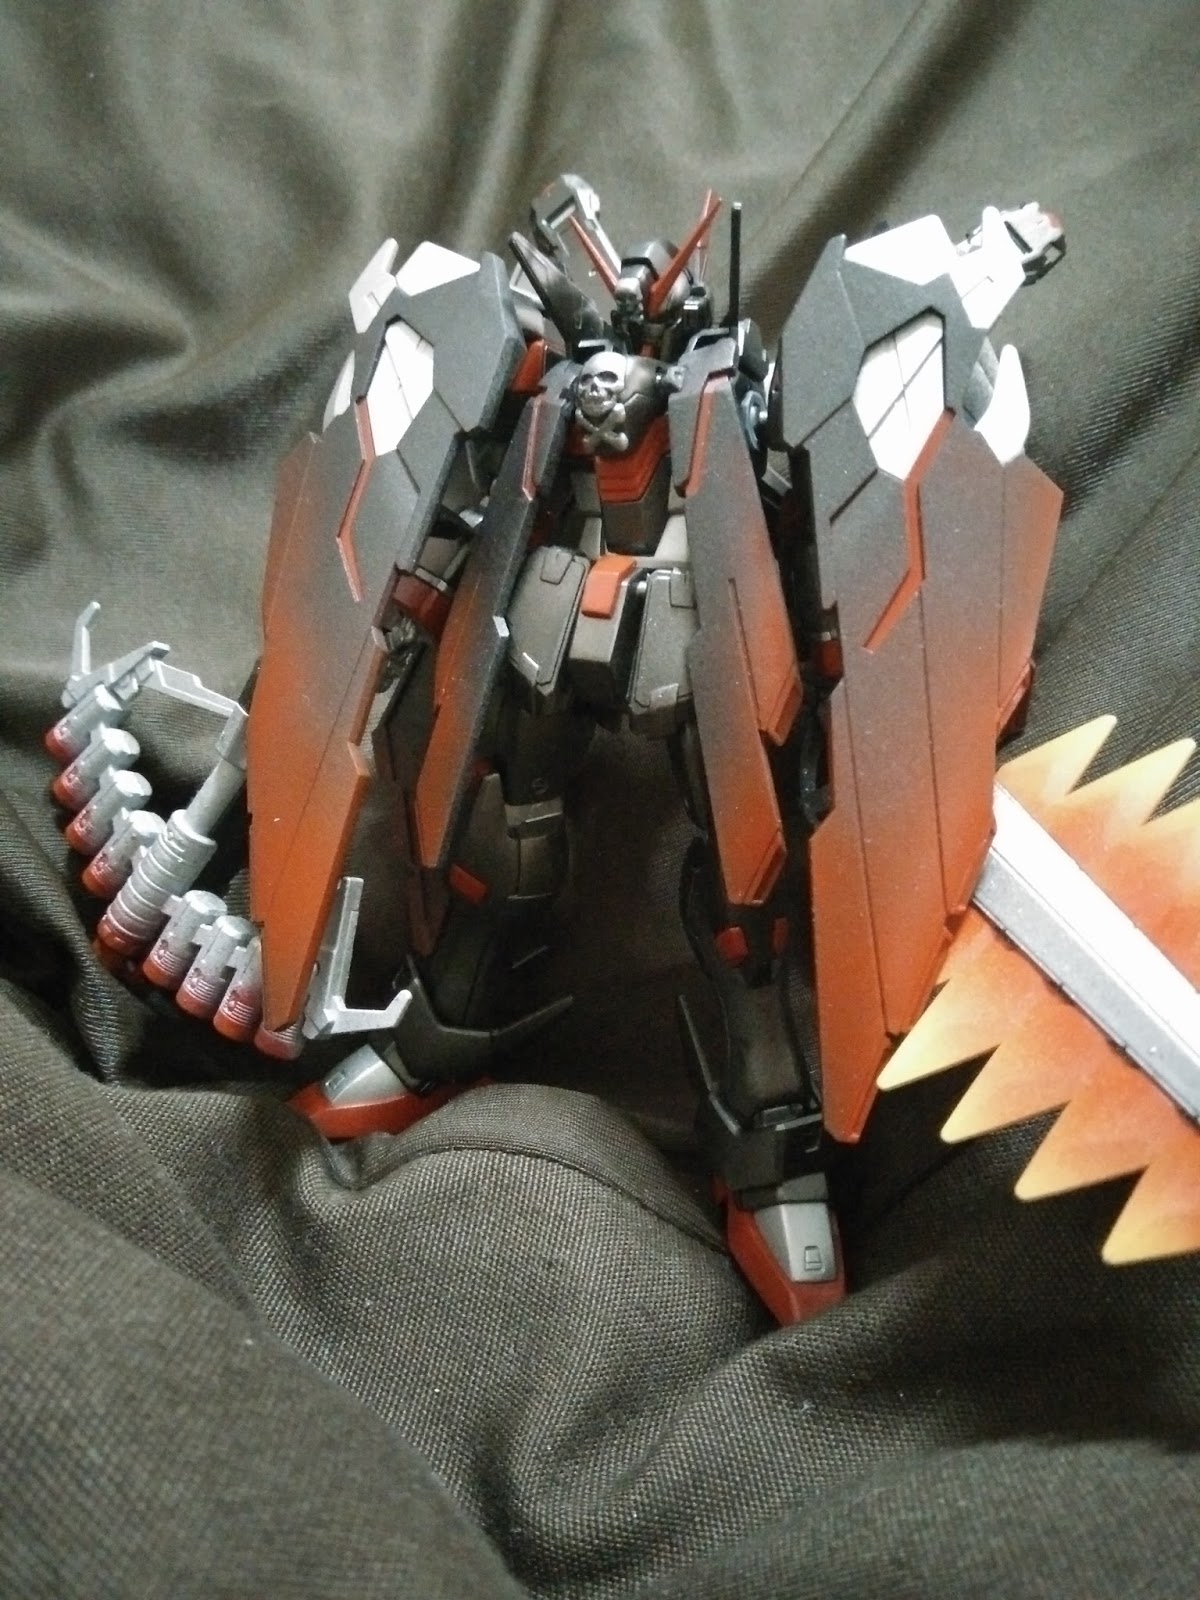
rant begins-REALLY BANDAI?! the color separation was awful for the weapons. the entire crossbow was of the same grey color throughout and the parts were all attached together, making it extremely extremely tough to mask. even the skull on the sword was attached to the sword itself already, and it really looked just so badddd-end of rant

but anyways i still went on with painting the weapons, sticking to the three main colors i used for the body.


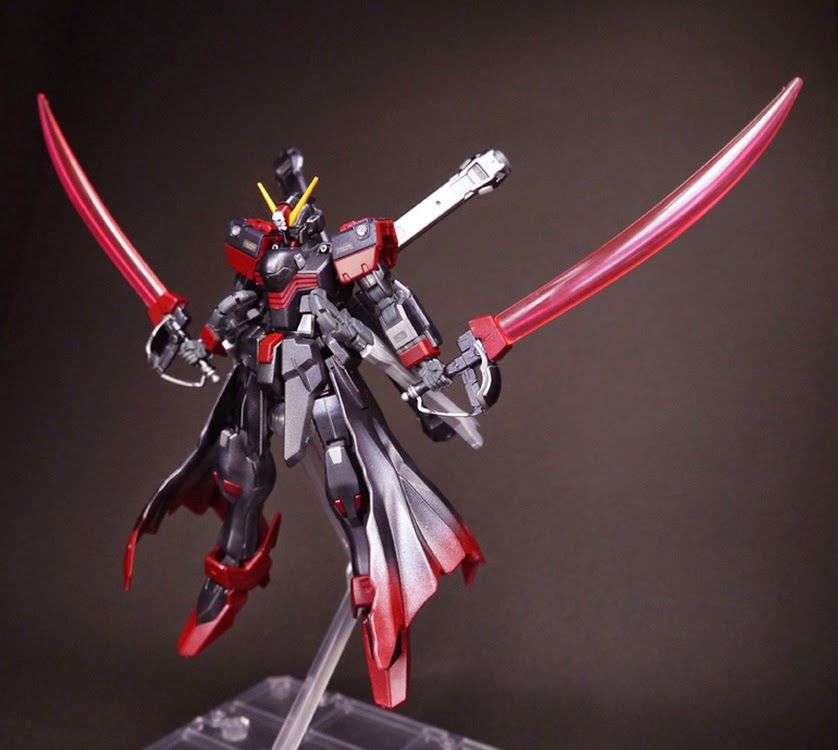
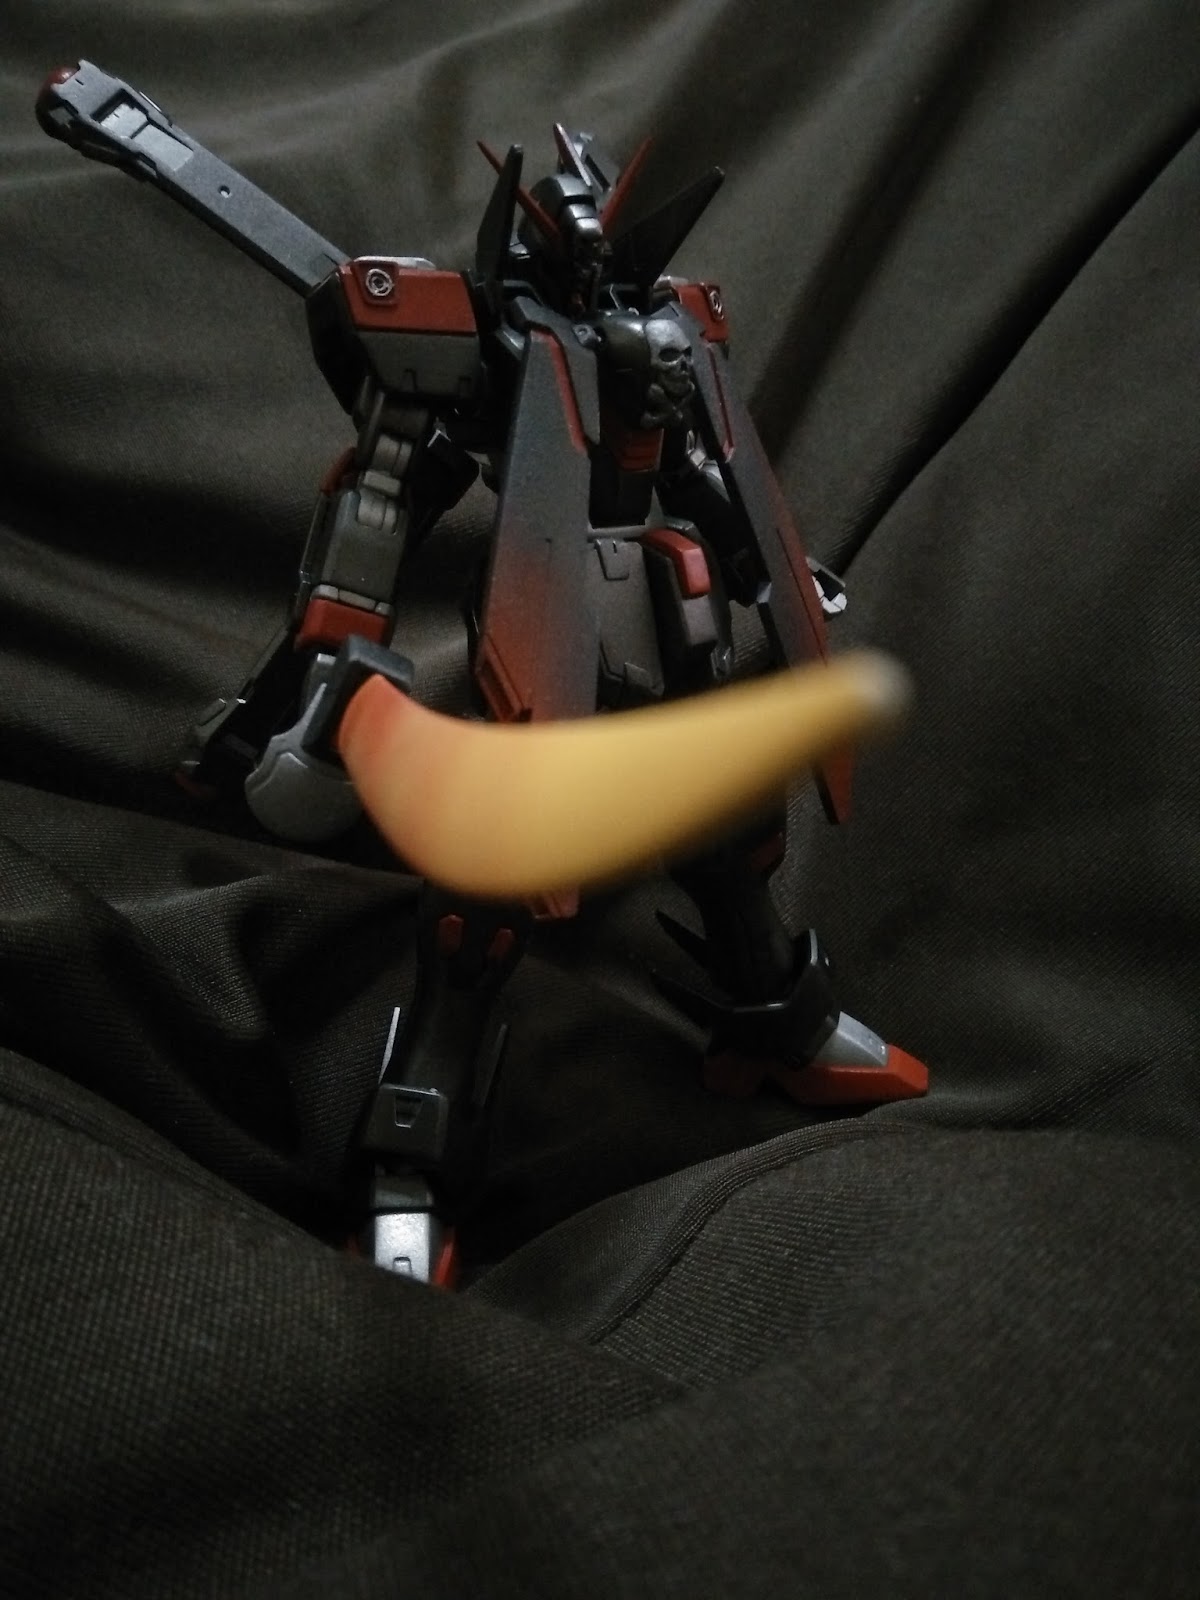
 and again i made a gradient effect for the swords (red to yellow) and hell was i happy with it ^^ they turned out just as i wanted to, and frankly speaking i was afraid i would screw it up because i wasnt too used to the new airbrush yet.

here are some of the photos of the completed project!


thanks for viewing! :)


my spoilt airbrush :(

ahhh so it's been quite a while since i last posted. Didn't have the time to log on to my computer.

Anyways, a really tragic thing happened....my airbrush SPOILT D: i was just about to start airbrushing again a couple of days ago, set up everything and BAM no air was passing through my airbrush... usually people had problems like the paint not getting through, but for me, no air was entering the airbrush at all!

to those who are wondering what airbrush i was using, it was this classic made-in-china airbrush that looks something like this:

and holy crap i freaked out real bad and got really sad over it because that was my first airbrush and i frankly found it pretty alright to use (cleaning and disassembling was a pain in the ass though). 

so yeah anyways i went back to the shop distributing this airbrush, hoping to get it fixed but nope, it was beyond repair.

the owner of the shop was really puzzled as well... after disassembling the airbrush he could not find any part that was broken, clogged, missing etc etc. the airbrush looked perfectly fine but just no air came out of it!

well, and that was what happened to my first airbrush :(

nonetheless i had to get a new one and so i purchased this harder and steenback beauty at the shop:


it is the Harder and Steenback Ultra 2-in-1 Airbrush. considered the most basic of the H&S Airbrush series, I felt that it was actually quite enough for me as a beginner at this (and also my budget)

It's a really neat airbrush, with the parts being very simple to disassemble and clean up. It even came with two sets of nozzle and needle: 0.2mm and 0.4mm! The previous one i used was 0.3mm though, so i took a little while to get used to this H&S one (I'm currently using the 0.4mm only)

The main problems i have with this airbrush though, was the shape of the nozzle. it has got holes at the sides of it, and that made it impossible for me to cover the nozzle and spray to let the paint mix in the cup or to "clean the cup with thinner". Secondly, the cup was easily detachable (simple plug-in system) and i found that it might get quite loose sometimes.

Overall though, this is a really decent airbrush that would be pretty easy to use and get the hang of. it is also quite useful to use this and practise the basics of airbrushing before purchasing a higher-end one. Regarding the problems i mentioned, they are rather easily overcome. I am sure glad i purchased this lil guy :)

Wednesday, October 7, 2015

HGBF 1/144 Crossbone Gundam X1 Full Cloth Ver. GBFT WIP 2

ahhh... and so painting begins (I started yesterday actually)

I put the parts on these crocodile clip sticks that I have. These sticks are really useful hehe... The parts that I am going to paint first would be those that will end up as the metallic black parts in the final model:


well, before painting the first step would of course be to prime the parts! i prime with an airbrush, using Mr Surfacer 1200


 and yay i am quite satisfied with the nub mark removal ^^ I really feel that this project will help me go back to my basics again haha. Well it is a great feeling indeed.

Before starting to spray the parts, I thought that it would be safer to first test the color out on a primed plastic spoon... so this is how it looks like:

That actually worked out pretty well :)))
and so the spraying on the parts begin:
A  close-up shot on the chestpiece


I really do like the shine of this paint!

 Well the color did work out pretty well, although i do have some learning points from this project so far:


  • The paint-thinner ratio might need to be adjusted to make sure the paint does not flow too much. I guess this applies especially to metallic paints, where the metallic pigments can flow quite a bit
  • when using metallic paints there is a need to constantly use the "stir" the mixture in the airbrush cup (i simply cover the nozzle and pull the lever). Otherwise the denser metallic pigments might flow to the bottom of the cup and a lot of it will come out at once, leaving the remaining paint less metallic!
Hmm and there goes the completion for (most of) the metallic black parts! :)

Monday, October 5, 2015

HGBF 1/144 Crossbone Gundam X1 Full Cloth Ver. GBFT WIP 1

Well, here goes my first post, dedicated to the.....

This is my first ever crossbone gundam hehe... okay no it is not actually mine but rather my friend's, who has asked me to help him assemble and paint this little guy.

Frankly speaking, I really do like the vibe of this gundam, with a truly badass crossbow and the cape around it (is it called the cape...?). However, I am not too terribly impressed with the pearl white that Bandai came up with hmmmmm.

Anyways, after searching through Google, my friend has insisted on me following the colour scheme of this crossbone gundam below:


... and hey that is really an impressive crossbone gundam! I really loved the colour scheme at first glance, and it gave off this dark and lethal feel to the gundam which I believe fits the image of a pirate really well.

Kudos to the modeler Raishin for this really wonderful colour scheme, and I sincerely apologise to my viewers and the original modeler if I seem to be copying Raishin's work (my friend insisted on using this colour scheme after much discussion)

and so, I began unboxing the gundam and slowly cutting and sanding the pieces down. I hope that this gundam will help me with the basics again, such as nub removal.

I would also be painting the main body of the gundam first before I even start on the weapons at all because I want to see how the gundam looks like overall with the new colour scheme.


aaaand so, this is how the parts look like after sanding them down and removing those little nubs (pardon the really cheap outlook of how i separate them, as well as the prominent pink energy shield at the top)

Progress is unfortunately slow due to work commitments in the day :( but I do hope to start on the priming and painting tomorrow.

Well that was a really short post but I guess it was mainly to put up some idea on how this piece of work came about.